DIM 140 Static Installation Guide
The DIM 100 Static installation targets tabletop and manual processes, and can be quickly integrated into existing workflow with little technical experience.
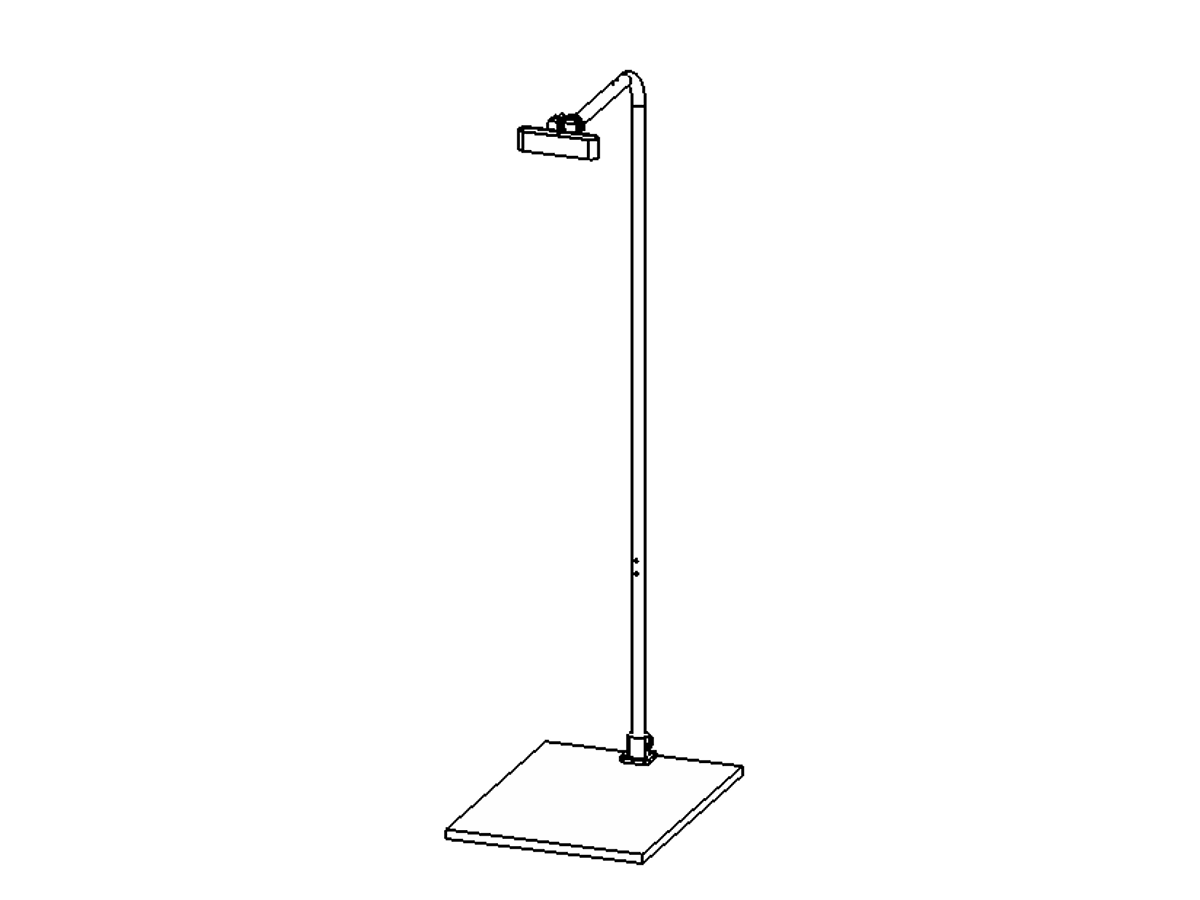
You should receive
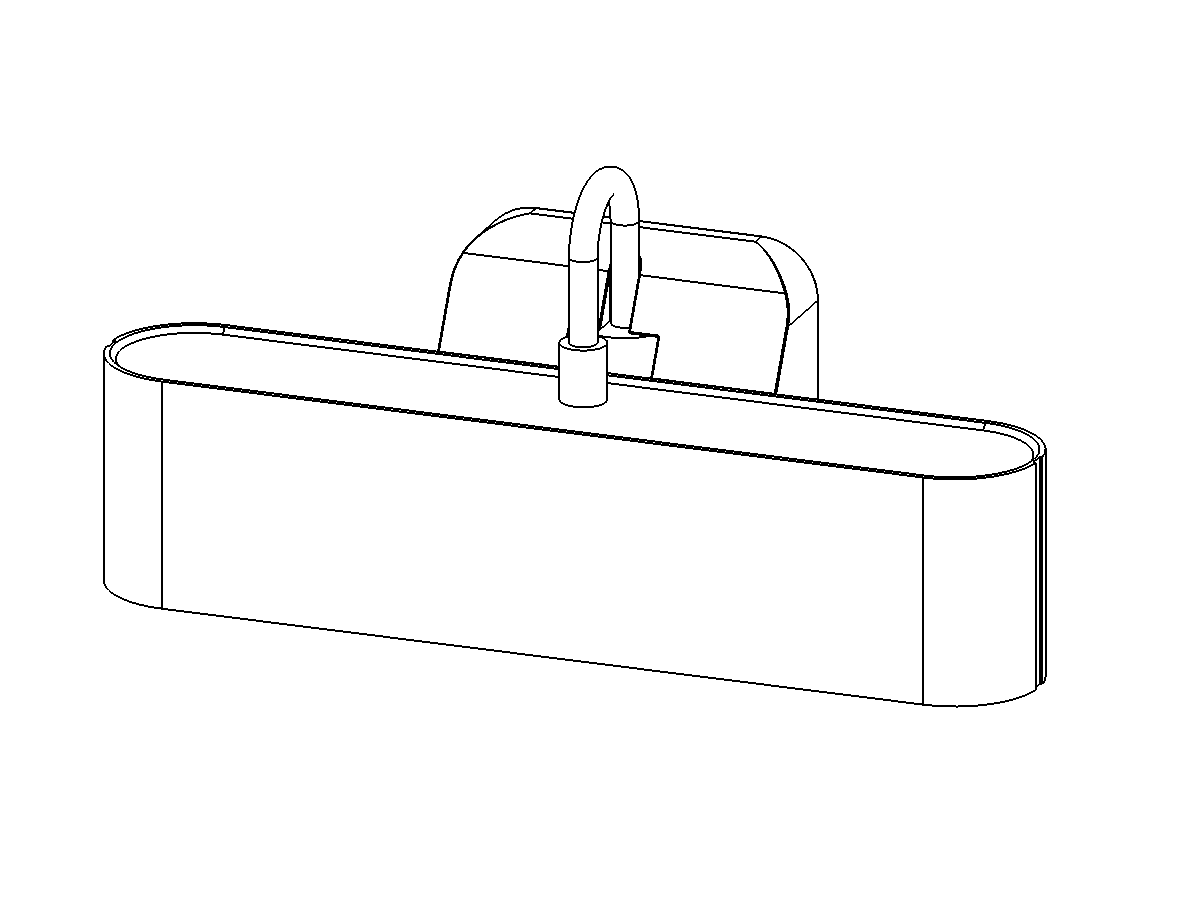
DIM 100 Dimensioner
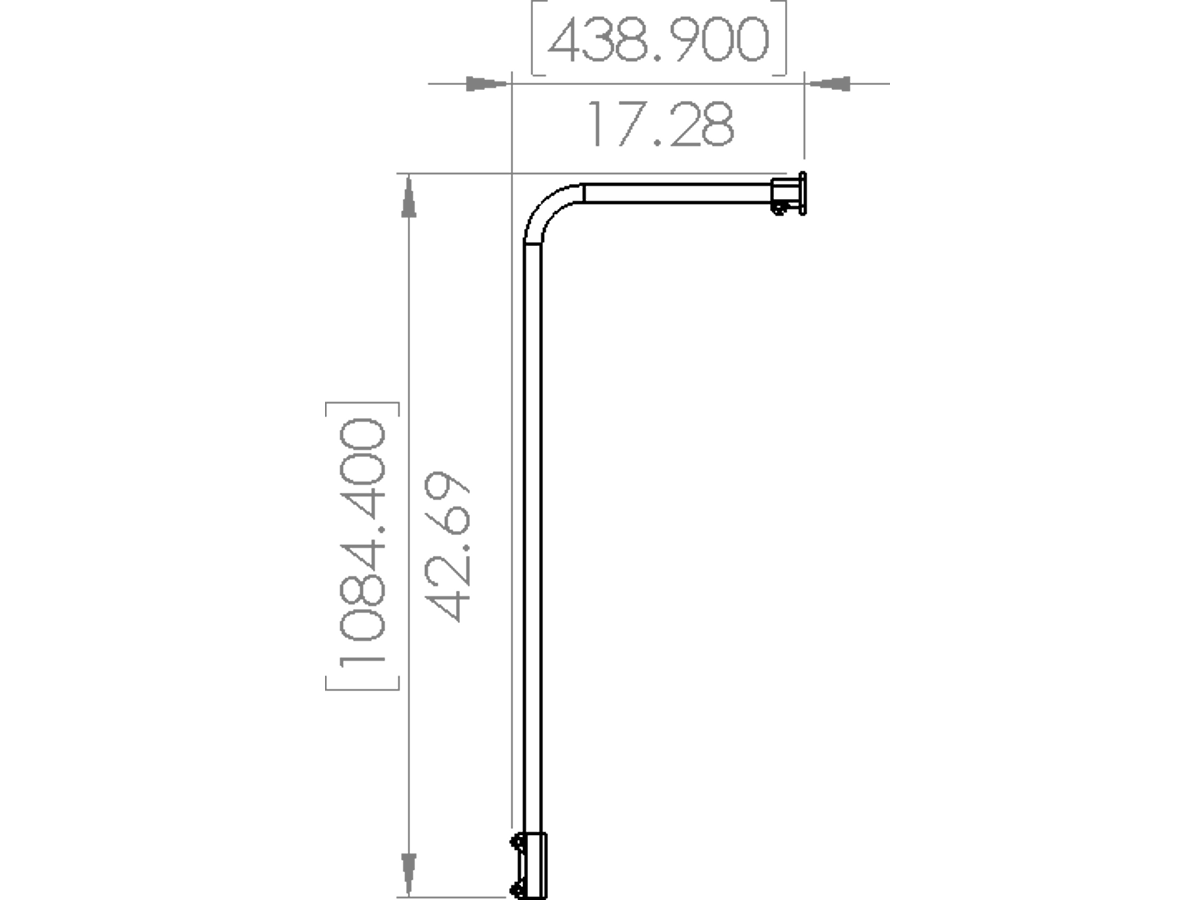
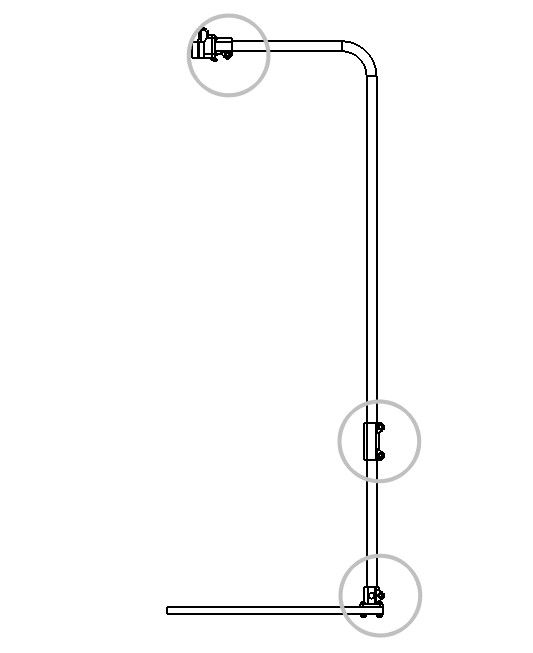
1 meter L tube
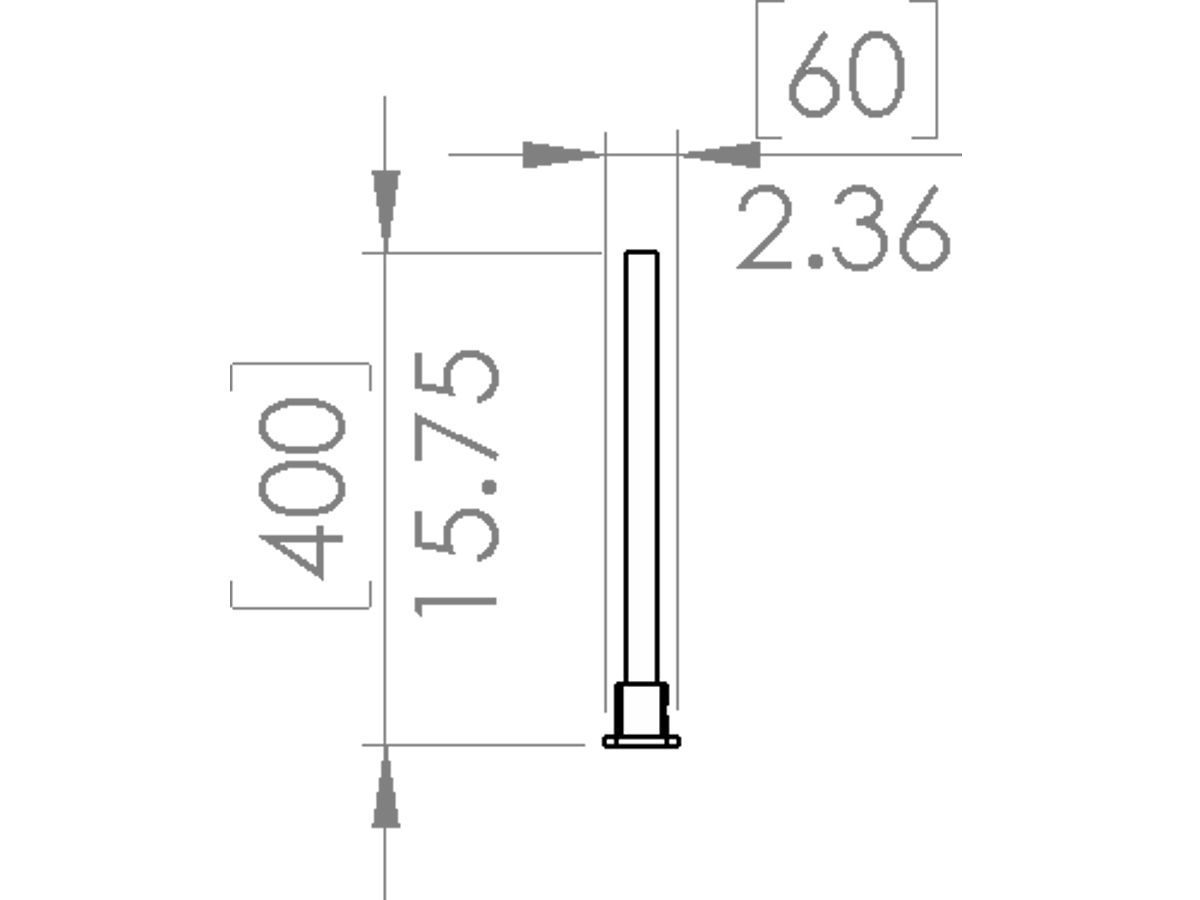
Extension tube (length varies)
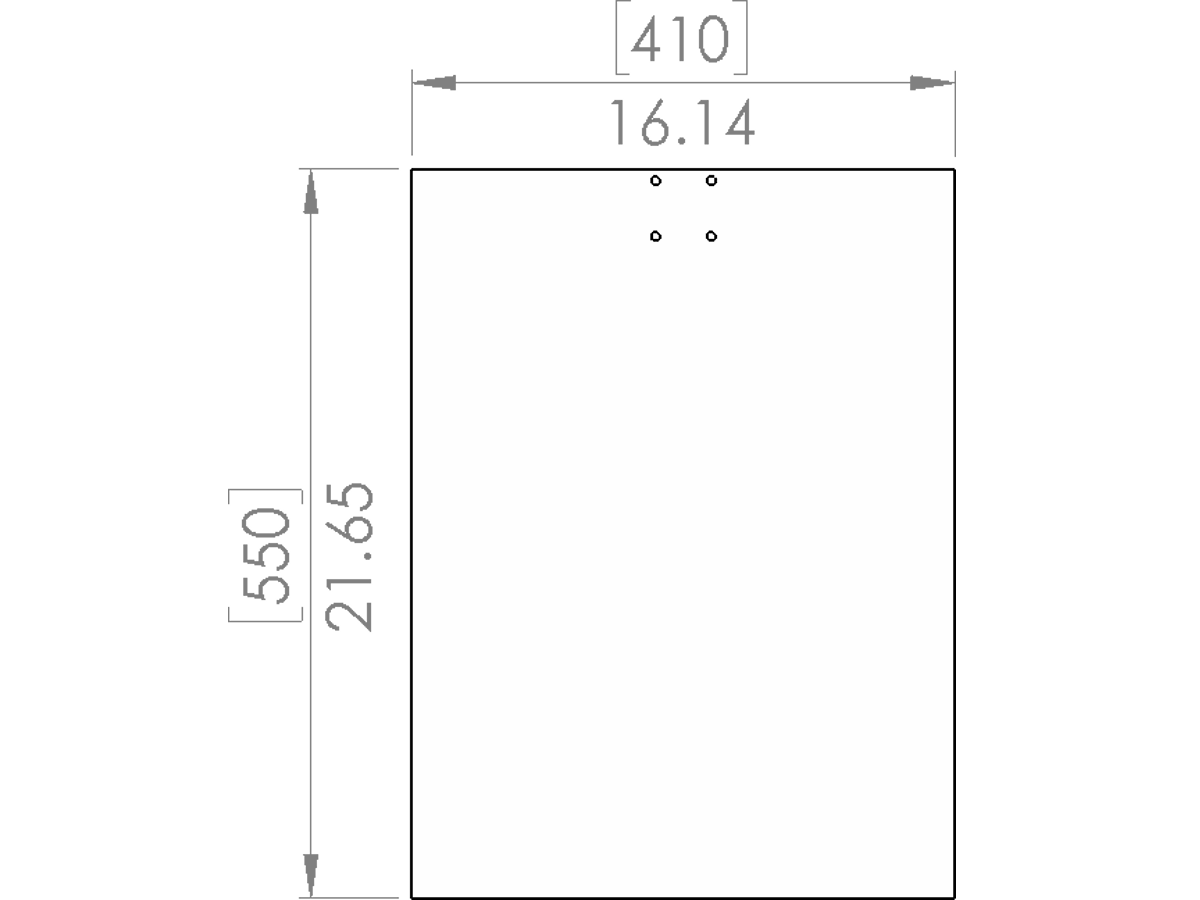
Base board
Step 1 - Attach the DIM 100 camera head
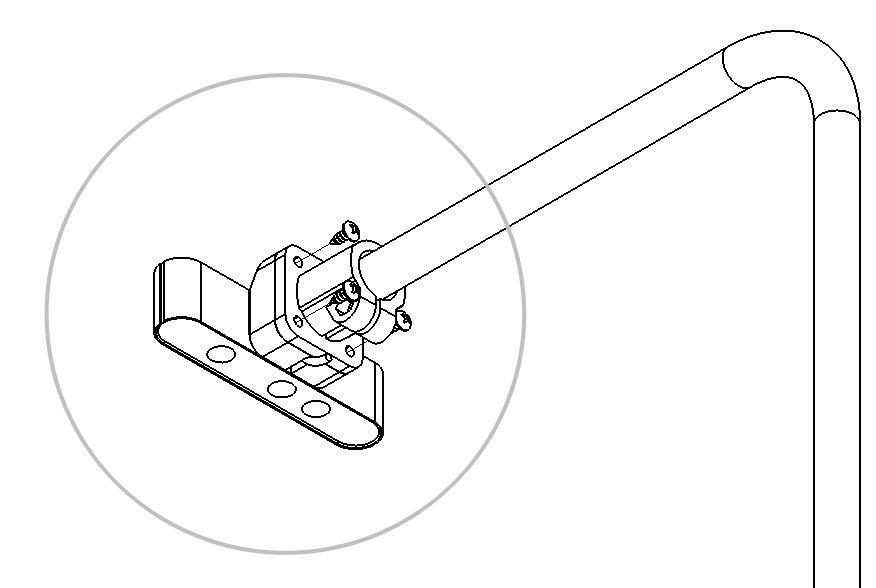 Do not over-tighten
Step 2 - Attach extension tube to base board
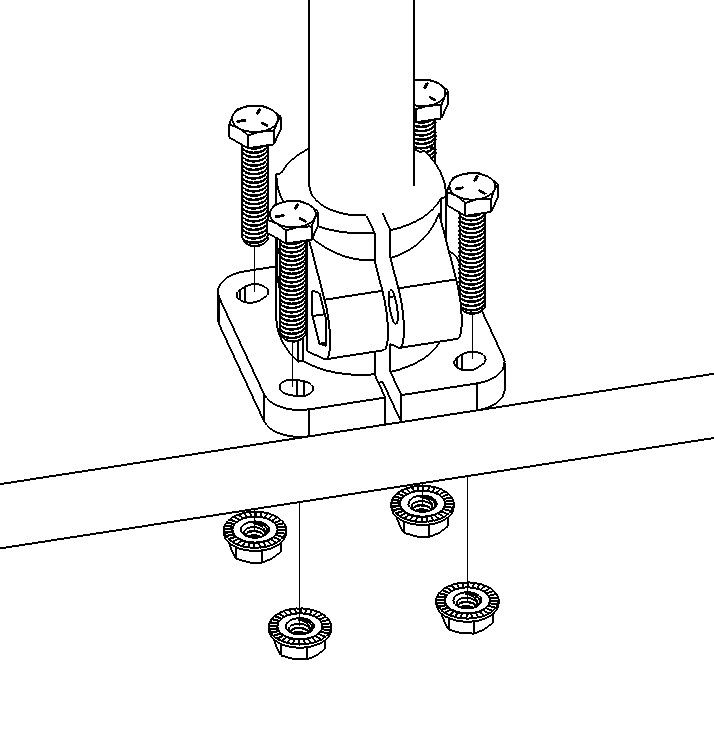
Do not over tighten
Step 3 - Attach extension tube to L tube
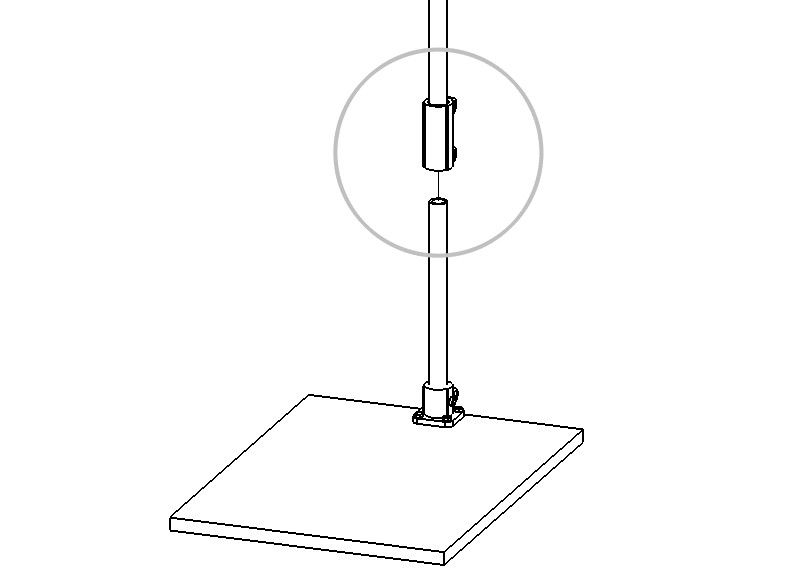
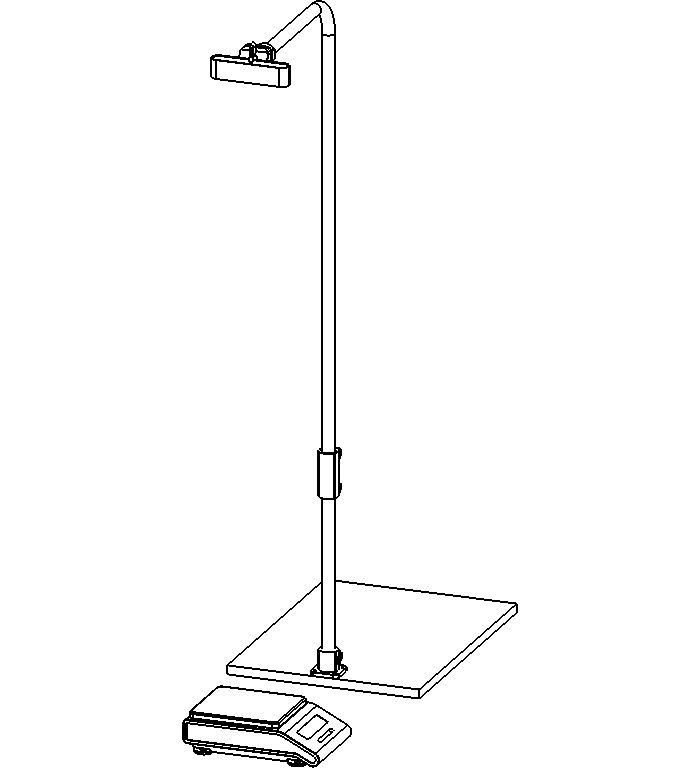
Step 4 - Place the dimensioner and scale
The base of the dimensioner takes up 21.65" x 16.14" (550 mm x 410 mm) of space.
In order to maximize the viewing area of the camera arrays, the center of the scale should align roughly with the center of camera array.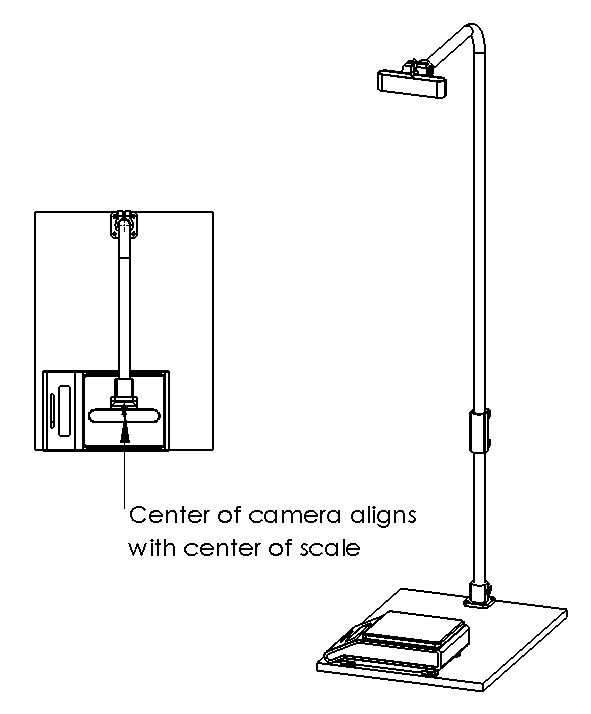
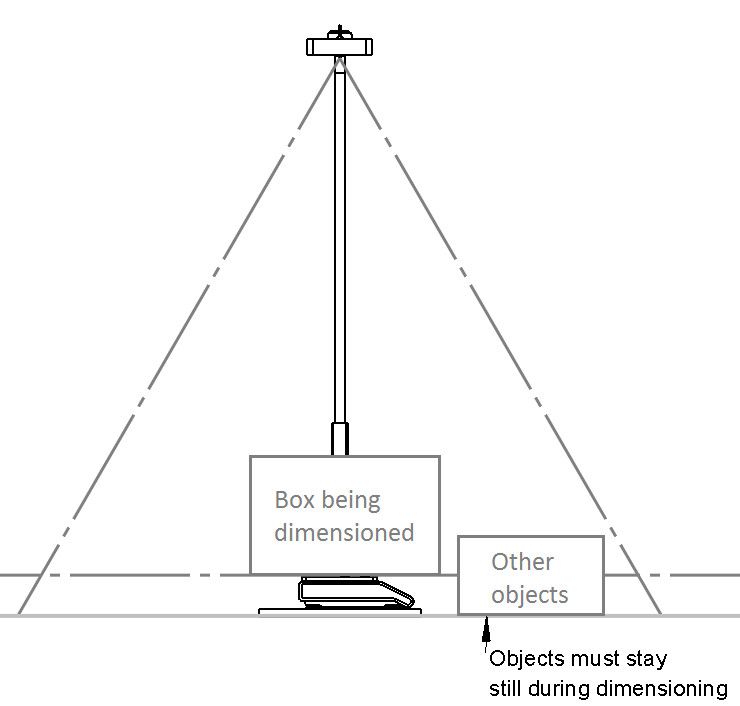
Step 5 - Clear objects from field of view
The area within the field of view of the camera should be free of clutter and moving objects.
When dimensioning a parcel, it is highly recommended all other objects higher than the dimensioning surface be cleared from the field of view (see illustration below).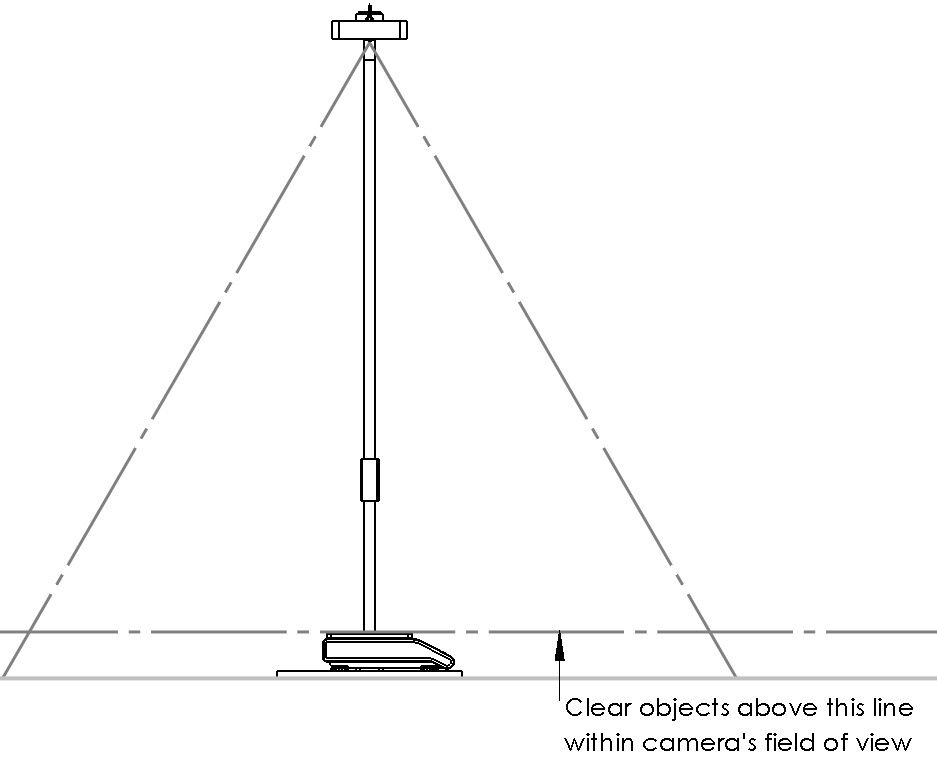
Step 6 - Tighten everything down
